
Disclaimer: This post demonstrates an implementation I went with. It does not suggest that this is the best or the most performant implementation, adopt at your own risk.
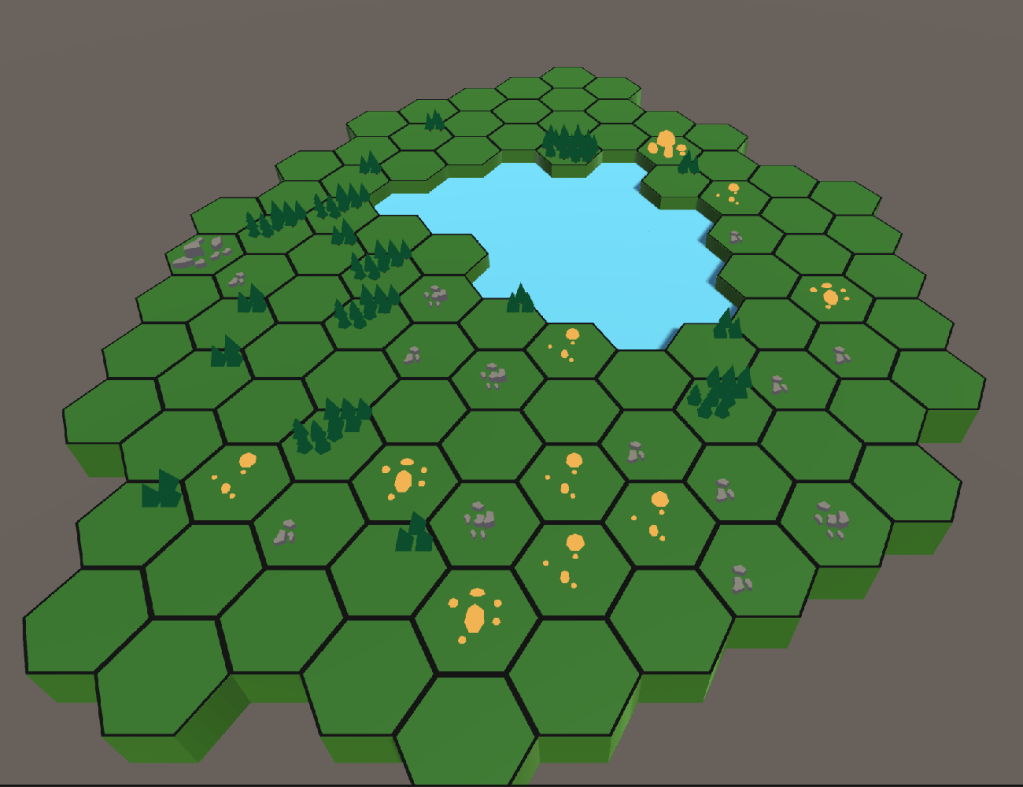
The Unity game I was working on required a hexagonal map, where each hexagon represents a territory with a resource assigned to it. Resource could be one of Wood, Stone or Gold each providing either 1, 2, 3 of the resource. As the first implementation I decided to procedurally generate the resources on the map with a limit on total number of resources available. In this post I will go into details of my implementation. All of the code demonstrated will be following C# Hungarian Notation.
Set up
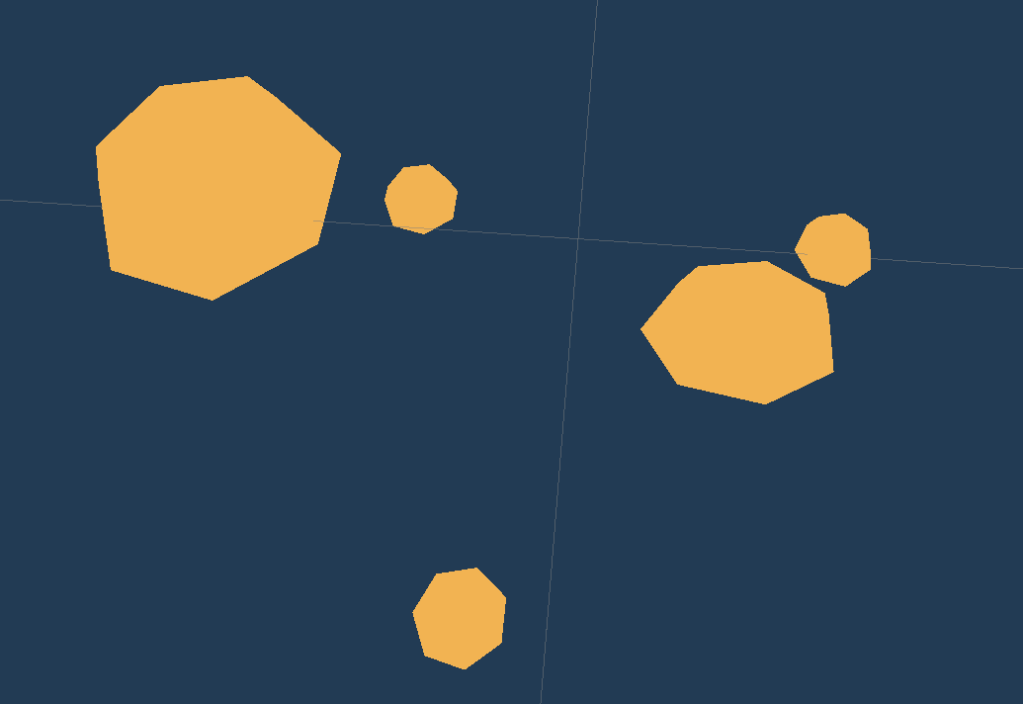
The hexagonal map you see above, is generated fully using this free asset. Check the documentation included with the asset to be able to create a hexagonal map.
I prefer to add a script for each GameObject that has some functionality in the game. Each hexagon has a Hexagon.cs script (to be described below).
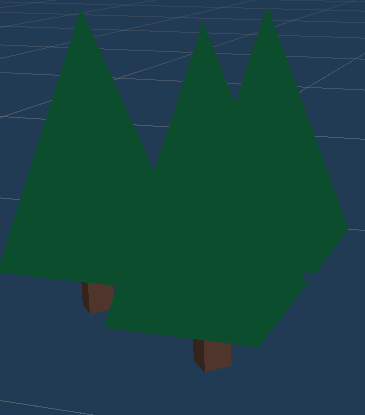
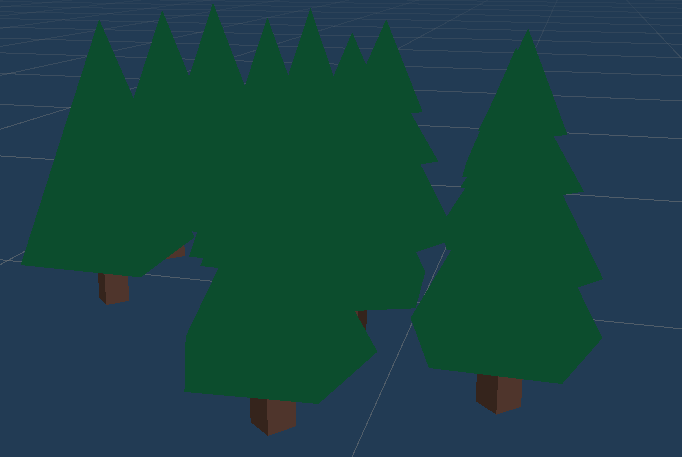
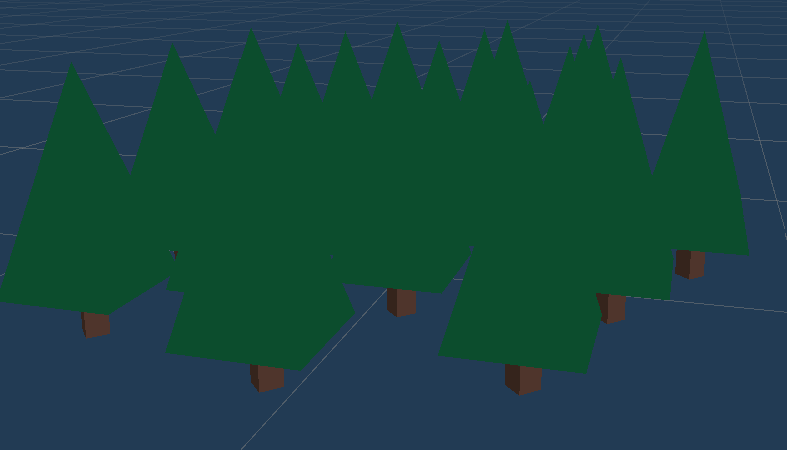
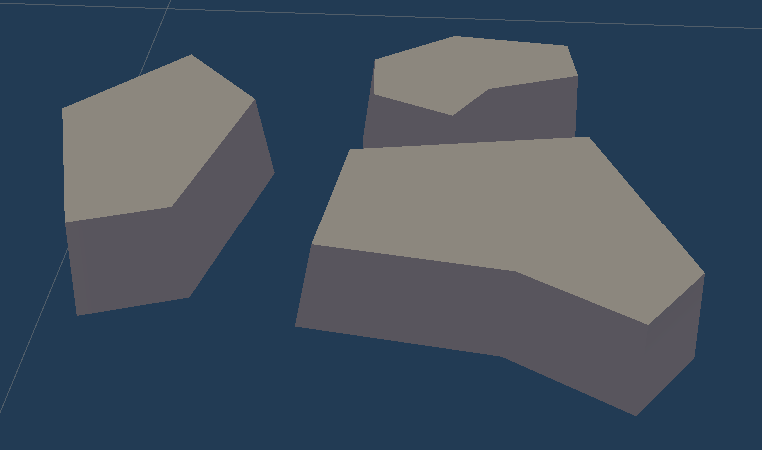
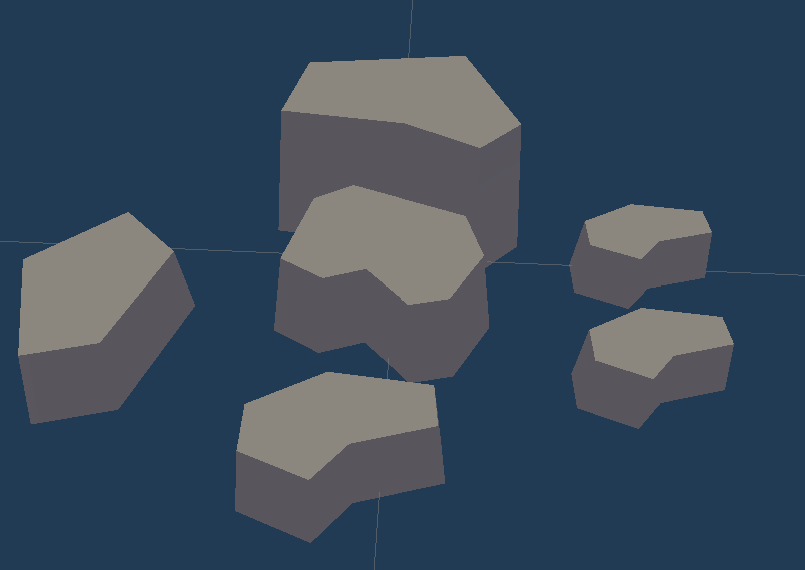
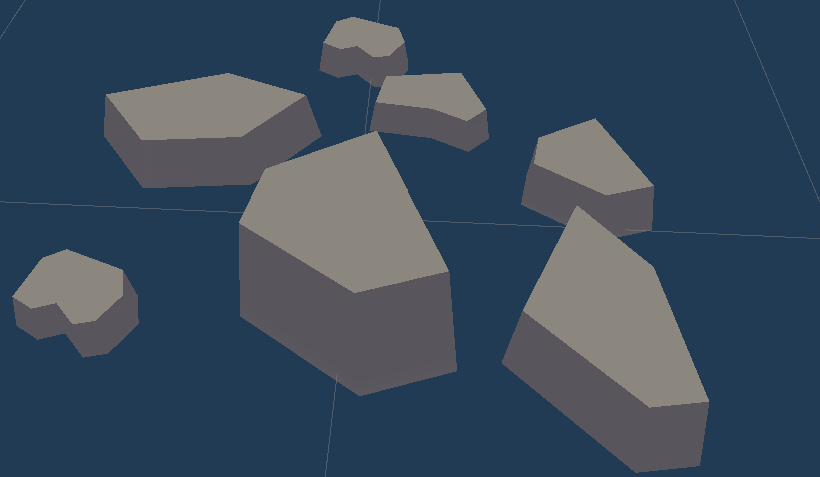
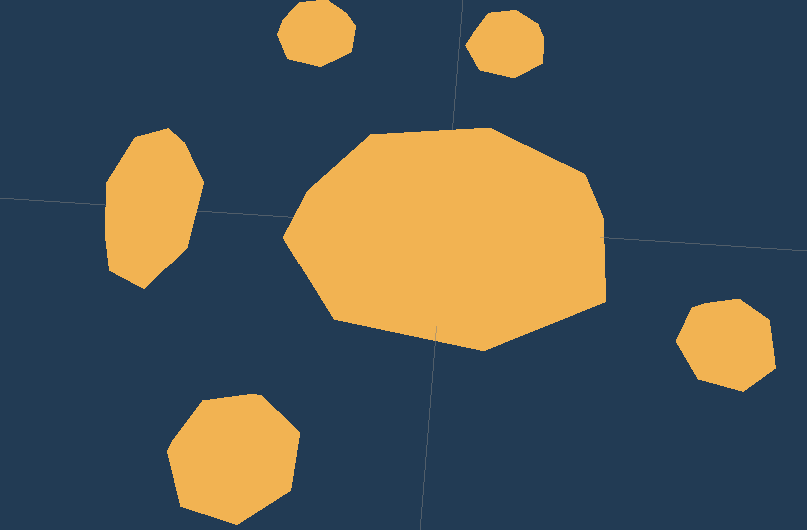
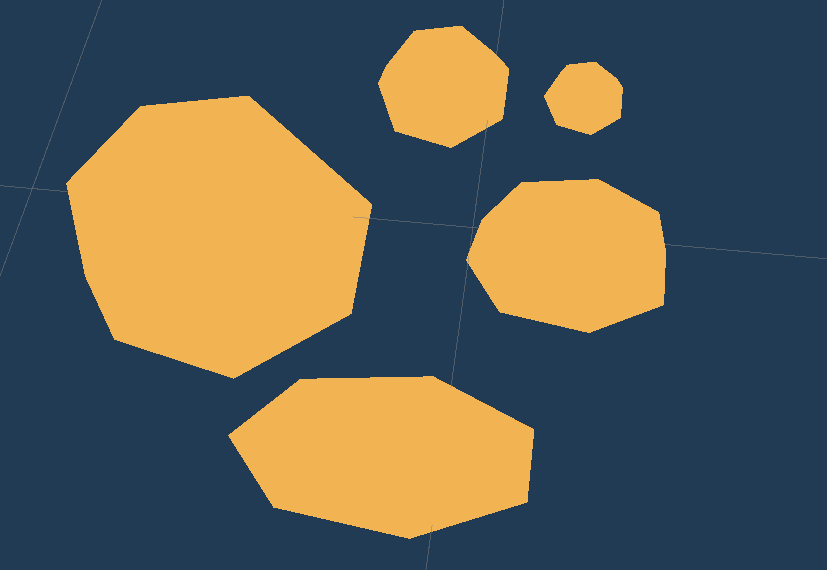
Each resource created in the picture above is a prefab of its own. What I mean by that is that there is 9 prefabs in total:
- Resource_Wood_One
- Resource_Wood_Two
- Resource_Wood_Three
- Resource_Stone_One
- Resource_Stone_Two
- Resource_Stone_Three
- Resource_Gold_One
- Resource_Gold_Two
- Resource_Gold_Three
The prefabs represent the range of all possible resource types and amount to be displayed on the map. Make sure to use hexagons while creating the prefabs to make sure that they fit in a hexagon.
Implementation
Class List
First let me list the classes and what they are for.
- Hexagon.cs – a class that represents each walkable hexagon on the map.
- Resource.cs – a class that represents a resource displayed on the map.
- ResourceManager.cs – a class that represents an object that allocates resources on the map.
- ResourceSettings.cs – a class that contains all of the 9 prefabs as well as a limit of each respurce.
- Paths.cs – a class to contain constant paths.
Class Diagram
To give you a better high level picture of the relations between classes a class diagram is included below.

Code
Resource
First let’s start wit a Resource class. A resource contains a type and the amount of resource it represents. Note that both m_Type and m_Resource are private since we don’t want the values to be modified from outside of the class. We only want resource to be modifiable in the inspector. That’s why we add [SerializeField] attribute.

namespace Game.Resources
{
    enum ResourceType
    {
        Wood,
        Stone,
        Gold
    }

    class Resource : MonoBehaviour
    {
       [SerializeField]
       ResourceType m_Type;
       [SerializeField]
       int m_Value;

       public ResourceType Type => m_Type;
       public int Value => m_Value;
    }
}
Paths
This class is not necessary to have, however, I prefer to have all of the constants centralized in some place. As the codebase grows and you use the same constants in different places it is a good practice to keep in mind to make sure that values you use for the same purpose are consistent.
namespace Game
{
    static class Paths
    {
        const string Root = "Game";
        public const string CreateResourceSettings = Root + "/Settings/ResourceSettings";
        public const string ResourceSettings = "Settings/Resource";
    }
}
ResourceSettings
ResourceSettings inherits from the ScriptableObject class. The reason is simple, since we can have a huge number of hexagon instances we don’t want each instance to reference a prefab since there are 9 possibilities for each. Instead we us a ScriptableObject as a container for the prefabs so that we only have 9 references instead of 9 * number of hexagons.
using UnityEngine;

namespace Game.Resources
{
    [CreateAssetMenu(menuName = Paths.CreateResourceSettings)]
    class ResourceSettings : ScriptableObject
    {
        #region Wood
        [Header("Wood")]

        [SerializeField]
        int m_WoodLimit = 20;
        [SerializeField]
        GameObject m_WoodOnePrefab;
        [SerializeField]
        GameObject m_WoodTwoPrefab;
        [SerializeField]
        GameObject m_WoodThreePrefab;

        public int WoodLimit => m_WoodLimit;
        public GameObject WoodOnePrefab => m_WoodOnePrefab;
        public GameObject WoodTwoPrefab => m_WoodTwoPrefab;
        public GameObject WoodThreePrefab => m_WoodThreePrefab;
        #endregion

        #region Stone
        [Header("Stone")]

        [SerializeField]
        int m_StoneLimit = 20;
        [SerializeField]
        GameObject m_StoneOnePrefab;
        [SerializeField]
        GameObject m_StoneTwoPrefab;
        [SerializeField]
        GameObject m_StoneThreePrefab;

        public int StoneLimit => m_StoneLimit;
        public GameObject StoneOnePrefab => m_StoneOnePrefab;
        public GameObject StoneTwoPrefab => m_StoneTwoPrefab;
        public GameObject StoneThreePrefab => m_StoneThreePrefab;
        #endregion

        #region Gold
        [Header("Gold")]

        [SerializeField]
        int m_GoldLimit = 20;
        [SerializeField]
        GameObject m_GoldOnePrefab;
        [SerializeField]
        GameObject m_GoldTwoPrefab;
        [SerializeField]
        GameObject m_GoldThreePrefab;

        public int GoldLimit => m_GoldLimit;
        public GameObject GoldOnePrefab => m_GoldOnePrefab;
        public GameObject GoldTwoPrefab => m_GoldTwoPrefab;
        public GameObject GoldThreePrefab => m_GoldThreePrefab;
        #endregion
    }
}
Let’s take a closer look at the implementation. Creating a class that inherits from ScriptableObject is not enough, we need to create an asset from the ScriptableObject to be able to load it during runtime.
[CreateMenuAsset] is an attribute that let’s us create an asset that derives from our ScriptableObject.
Now where should we create it?
Since we want the path to be recognizable at runtime we need to make sure that we are either using Addressables, AssetBundles or Resources. All of the mentioned above will get the job done, I personally chose Resources for the simplicity and will be using it in this implementation as well.
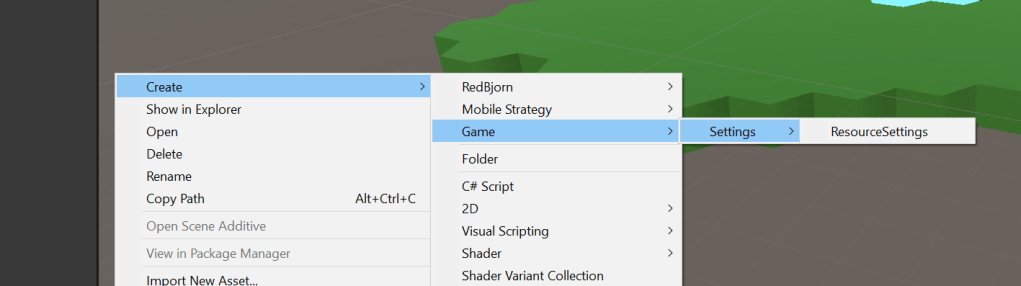
So let’s create the ResourceSettings by clicking on the menu displayed above in the Assets/Resources/Settings folder (you have to create the Resources and Resources/Settings folders yourself).
This is what you should have
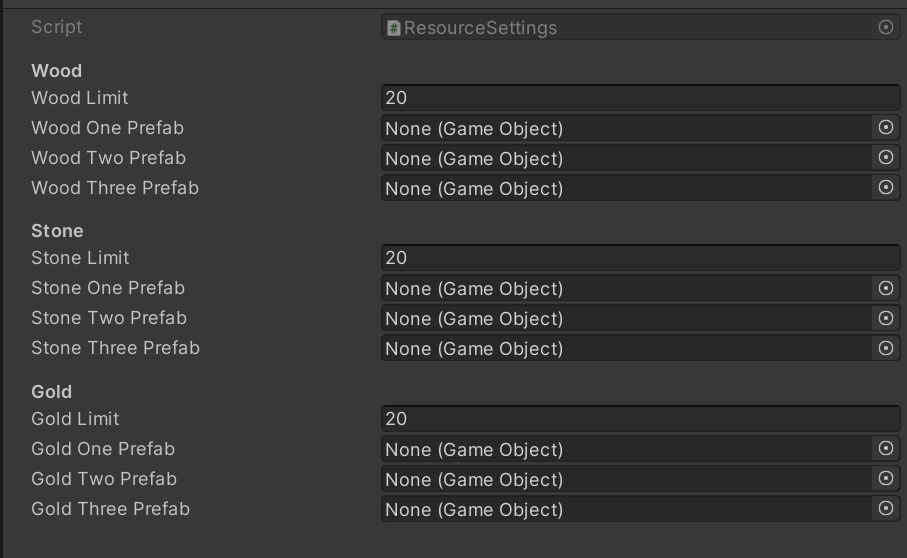
Now as you can see all of the prefabs are set to None. Next step is drag and drop all of the prefabs to the appropriate places. The end result looks like this:
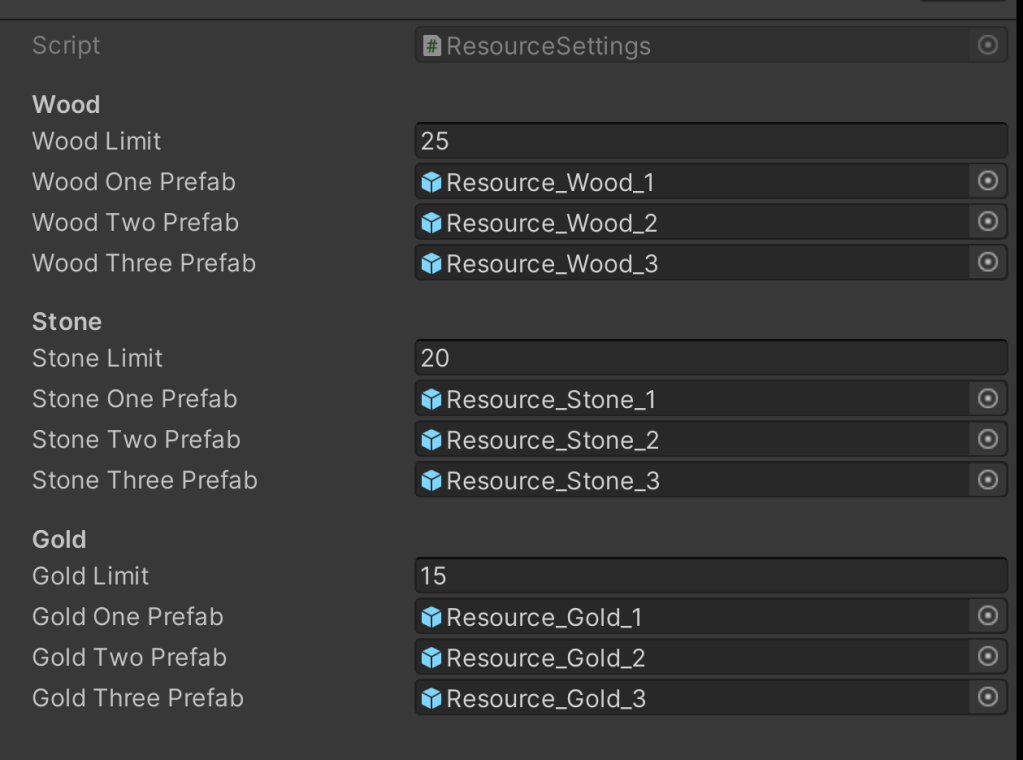
Set the limit of each resource to the value you need. The Resource limit means that there can be no more than the amount specified there. For example, when generating wood on the map we cannot have more than 25 combined wood resources on the map.
ResourceManager
This is arguably the most important class of this tutorial. This class is responsible for all of the logic associated with the resource allocation. The logic associated with this functionality is quite simple:
- ResourceManager is asked to allocate a resource
- It randomly decides if it allocates any resource and which resource to allocate.
Before diving into the implementation let’s take a look at how the ResourceManager decides if and what to allocate:
- Check if the total resource limit is reached, if so do not allocate anything. (next step assumes that limit was not reached)
- Randomly decide if a resource should be allocated. (next step assumes that it decides to assign a resource)
- Randomly decide which resource to allocate.
- Randomly decide the amount of the resource to assign.
- Give back the resource prefab.
Now let’s look at the actual implementation. The class is quite large so for the sake of simplicity each method will be explained separately. First we need to make sure that this class is a singleton, since it is important to have a centralized entity that allocates and keeps track of the resources. Let’s start with that:
using System;
using System.Collections.Generic;
using System.Linq;
using UnityEngine;

namespace Game.Resources
{
    class ResourceManager : MonoBehaviour
    {
        public static ResourceManager Instance { get; private set; }

        protected void Awake()
        {
            if(Instance == null)
            {
                Instance = this;
                Initialize();
                return;
            }

            Debug.LogError($"Singleton {typeof(ResourceManager)} tried to be instantiated multiple types");
            Destroy(gameObject);
        }
    }
}
The code above checks on Awake() if a static instance was already created, if so it means that somewhere in your code you are trying to instantiate it again, it will ignore the attempt and Destroy() the instance with an error to notify you. Initialize() method will be defined below, think about it as a constructor.
Note: Make sure to create a GameObject and attach this script to it, otherwise the Instance will always be null.
Once we got that out of the way, we need to have a data structure to keep track of the amount and type of the resource we already have assigned so that we do not go over the specified limit.
Dictionary<ResourceType, int> m_AllocatedResources = new Dictionary<ResourceType, int>()
        {
            {ResourceType.Wood, 0},
            {ResourceType.Stone, 0},
            {ResourceType.Gold, 0}
        };
Now let’s get the ResourceSettings that we have created. (The name of mine is sample_resource.
ResourceSettings m_Settings;

void Initialize()
{
    m_Settings = UnityEngine.Resources.Load<ResourceSettings>($"{Paths.ResourceSettings}/sample_resource");
}
The ResourceManager class has only one public method AllocateResource() that returns a GameObject representing the resource prefab. The methods used will be described in detail below.
public GameObject AllocateResource()
{
    if (ReachedResourceLimit())
    {
        return null;
    }

    if (!ShouldAllocate())
    {
        return null;
    }

    var resourceType = GetRandomResourceType();

    if (resourceType == null)
    {
        return null;
    }

    var amount = DecideAmountToAllocate(resourceType.Value);
    //Update the allocated resources
    m_AllocatedResources[resourceType.Value] += amount;

    return GetResourcePrefab(resourceType.Value, amount);
}
Let’s take a closer look at each method shown above.
ResourceLimitReached()
This is a simple check to make sure that we have not gone over the limit specified in our settings.
bool ReachedResourceLimit()
{
    return m_AllocatedResources[ResourceType.Wood] == m_Settings.WoodLimit
        && m_AllocatedResources[ResourceType.Stone] == m_Settings.StoneLimit
        && m_AllocatedResources[ResourceType.Gold] == m_Settings.GoldLimit;
}
ShouldAllocate()
For this let’s set a probability with which we want the ResourceManager to assign a resource. For me it will be 0.7 or 70% chance that it decides to allocated. The algorithm a simple, pick a float between 0 and 1 and if it is higher than our threshold (0.3 in our case) then allocated a resource.
const float k_AllocateThreshold = 0.3f;

bool ShouldAllocated()
{
    var probability = UnityEngine.Random.Range(0f, 1f);

    if (probability <= k_AllocateThreshold)
    {
        return false;
    }

    return true;
}
GetRandomResourceType()
This method returns a random ResourceType. Note that if no resources are available method returns a null value. That’s why the return type is a nullable enum ReturnType as enum types cannot be null.
ResourceType? GetPriorityResource()
{
    var availableResources = GetAvailableResourceTypes();

    if (!availableResources.Any())
    {
        return null;
    }

    return availableResources.GetRandomElement();
}

List<ResourceType> GetAvailableResourceTypes()
{
    var availableResources = new List<ResourceType>();

    if (m_AssignedResources[ResourceType.Wood] < m_Settings.WoodLimit)
    {
        availableResources.Add(ResourceType.Wood);
    }

    if (m_AssignedResources[ResourceType.Stone] < m_Settings.StoneLimit)
    {
        availableResources.Add(ResourceType.Stone);
    }

    if (m_AssignedResources[ResourceType.Gold] < m_Settings.GoldLimit)
    {
        availableResources.Add(ResourceType.Gold);
    }

    return availableResources;
}
Now since we can have a resource type we need to decide the amount we want to allocate. Remember that the only possible amounts are 1, 2, 3. First we need to get the remaining amount of the resource type. If it is the same as the amounts mentioned above it will be assigned that amount right away. For example if we have only 2 wood available, the method will return 2 right away. Otherwise, it will pick a random int between 1 and 3 (both inclusive) as the amount to allocate. GetRemainingAmountOf() will be described below.
int DecideAmountToAssign(ResourceType resourceType)
{
    var remainingAmount = GetRemainingAmountOf(resourceType);

    if (remainingAmount == 1)
    {
        return 1;
    }

    if (remainingAmount == 2)
    {
        return 2;
    }

    if (remainingAmount == 3)
    {
        return 3;
    }

    return UnityEngine.Random.Range(1, 3);
}
GetRemainingAmountOf()
This method simply checks how much of the resource type is remaining by calculating (Resource Limit – Allocated Amount Of The Resource). Smaller helper methods are introduced for more readability.
int GetRemainingStone()
{
    return m_Settings.StoneLimit - m_AssignedResources[ResourceType.Stone];
}

int GetRemainingWood()
{
    return m_Settings.WoodLimit - m_AssignedResources[ResourceType.Wood];
}

int GetRemainingGold()
{
    return m_Settings.GoldLimit - m_AssignedResources[ResourceType.Gold];
}

int GetRemainingAmountOf(ResourceType resourceType)
{
    switch (resourceType)
    {
        case ResourceType.Stone:
            return GetRemainingStone();
        case ResourceType.Wood:
            return GetRemainingWood();
        case ResourceType.Gold:
            return GetRemainingGold();
    }

    return 0;
}
GetResourcePrefab()
Finally as we decided on the type and the amount of resource to allocated, let’s get the corresponding prefab.
GameObject GetResourcePrefab(ResourceType resourceType, int value)
{
    switch (resourceType)
    {
        case ResourceType.Stone:
            return GetStonePrefab(value);
        case ResourceType.Wood:
            return GetWoodPrefab(value);
        case ResourceType.Gold:
            return GetGoldPrefab(value);
    }

    return null;
}

GameObject GetStonePrefab(int value)
{
    switch (value)
    {
        case 1:
            return m_Settings.StoneOnePrefab;
        case 2:
            return m_Settings.StoneTwoPrefab;
        case 3:
            return m_Settings.StoneThreePrefab;
    }

    return null;
}

GameObject GetWoodPrefab(int value)
{
    switch (value)
    {
        case 1:
            return m_Settings.WoodOnePrefab;
        case 2:
            return m_Settings.WoodTwoPrefab;
        case 3:
            return m_Settings.WoodThreePrefab;
    }

    return null;
}

GameObject GetGoldPrefab(int value)
{
    switch (value)
    {
        case 1:
            return m_Settings.GoldOnePrefab;
        case 2:
            return m_Settings.GoldTwoPrefab;
        case 3:
            return m_Settings.GoldThreePrefab;
    }

    return null;
}
Hexagon
Finally as we have everything ready let’s finish the last piece of the puzzle – Hexagon class. On Start() each hexagon will ask from ResourceManager to allocate a resource to it. If we get any resource prefab from ResourceManager.AllocateResource() call we need to create an actual instance of that resource as a child of the hexagon by calling Instantiate(resourcePrefab, transform) and setting the resource by getting the Resource component from the newly created GameObject instance.
using Game.Resources;

namespace Game.Map
{
    class Hexagon : MonoBehaviour
    {
      Resource m_Resource;

      void Start()
      {
          var resourcePrefab = ResourceManager.Instance.AllocateResource();

          if(resourcePrefab == null)
          {
              return;
          }

          var resourceGameObject = Instantiate(resourcePrefab, transform);
          m_Resource = resourceGameObject.GetComponent<Resource>();
      }
    }
}
Now you should be all set up to have random procedural resource generation in your project. Make sure to have the hexagons generated and click Play and enjoy your map!

Leave a comment